My infrastructure environment is primarily supported by a workstation running 24/7 on my home LAN. The infrastructure I use daily – such as GitLab, GitLab Runner, Jira, and even the blog you are reading right now – all runs on this workstation. The workstation runs Arch Linux with libvirt virtualization, where different services run in isolated virtual machines.
Below is a brief introduction to how I use this virtualization setup.
Networking
My virtualization uses bridge networking mode, so every VM can directly obtain a LAN IP. For configuration details, see: archwiki systemd-networkd#bridge-interface
OS and Images
All my VMs also run Arch Linux. On the virtualization host, I prepared an Arch Linux VM as a template (the template image was prepared using virt-sysprep). Other VM images are cloned from this template. The VM image file comes from the official Arch repository: Arch-Linux-x86_64-basic.qcow2
Creating Instances from the Template
List all VMs:
virsh list --all
Shut down the template VM:
virsh shutdown template
Clone a new VM from the template (my template is named template):
virt-clone --auto-clone --original template --name demo
Prepare the image to avoid conflicts with machine-id, ssh-host-key, etc. (this step is mandatory):
virt-sysprep -d demo
[Optional] To enable passwordless SSH login later, inject your public key during image preparation:
virt-sysprep \
    --ssh-inject root:string:'ssh-rsa AAAAB... jinmiaoluo@gmail.com' \
    -d demo
Start the VM:
virsh start demo
[Optional] Start the VM and manage it via console (ctrl+] to exit console):
virsh start demo --console
Configure the VM to auto-start when the host boots:
virsh autostart demo
I use serial console mode to manage VMs. The advantage is that you can manage the host even when the network is not ready. Newly created VMs often don’t have a known LAN IP yet, so serial mode is very convenient (ctrl+] to exit console):
virsh console demo
To use serial mode, you need to update the GRUB configuration. If you are also using Arch Linux, update the /etc/default/grub file and set GRUB_CMDLINE_LINUX to:
GRUB_CMDLINE_LINUX="console=tty0 console=ttyS0,115200n8 net.ifnames=0"
Then run: grub-mkconfig -o /boot/grub/grub.cfg
Demo video:
Other Common Operations
Create a snapshot:
virsh snapshot-create demo
Revert to the latest snapshot:
virsh snapshot-revert demo --current
Delete the latest snapshot:
virsh snapshot-delete --domain demo --current
Destroy and remove a VM:
# Destroy the VM
virsh destroy demo
# Remove the VM definition and its storage
virsh undefine --domain demo --remove-all-storage
Demo video: Snapshot creation, revert, deletion, and VM destruction
Disk Partition Expansion
On the host, expand the disk image (QCOW2) of the demo VM (add 20G):
# Log into the host
ssh root@m4.jinmiaoluo.com

# Shut down the VM via virsh on the host
virsh shutdown demo

# Expand the disk (I plan to add 20G total, split into two steps to better demonstrate the query commands)
qemu-img resize /var/lib/libvirt/images/demo.img +10G

# Check the expanded size
qemu-img info /var/lib/libvirt/images/demo.img
Start the VM and operate inside it:
# Start the VM
virsh start demo

# Log in via serial console (as shown in the video)
virsh console demo

# Or log in via network
ssh root@demo.jinmiaoluo.com
Check which disk partition corresponds to the root directory, then resize the partition and filesystem:
# Check partitions
lsblk

# Resize the partition. My root is on /dev/vda2 (so the second argument is 2; adjust accordingly)
growpart /dev/vda 2

# Resize the filesystem -- for btrfs:
btrfs filesystem resize max /

# Resize the filesystem -- for ext4:
resize2fs /dev/vda2

# Resize the filesystem -- for xfs:
xfs_growfs /dev/vda1
Demo video:
VM Rescue
Sometimes a VM becomes completely unbootable due to special circumstances (even the console won’t connect). On a regular server, you could boot from a Live USB to recover data. How do you do this with a VM?
You can use qemu-nbd (QEMU Disk Network Block Device Server), a tool provided by QEMU that lets you mount a VM image as a block device on the host. You can then access and modify data inside the VM just like accessing a USB drive (e.g., when a disk UUID changed after disk replacement, preventing boot).
As root, load the kernel module:
modprobe nbd
Attach the image as an nbd device:
qemu-nbd -c /dev/nbd0 -f qcow2 file.qcow2
If the VM has multiple partitions, there will be multiple nbd devices (e.g., nbd0p1, nbd0p2). Mount the root partition’s corresponding nbd device (mine is nbd0p1):
mount /dev/nbd0p1 /mnt
Read and modify files as needed. When done, unmount:
cd /mnt
# do something
umount /mnt
Disconnect the image from the nbd device:
qemu-nbd -d /dev/nbd0
GPU Passthrough
For instructions on isolating the GPU, refer to the Arch Linux wiki.
The corresponding libvirtd XML configuration:
<devices>
    <hostdev mode='subsystem' type='pci' managed='yes'>
        <source>
            <address domain='0x0000' bus='0xce' slot='0x00' function='0x0'/>
        </source>
    </hostdev>
    <hostdev mode='subsystem' type='pci' managed='yes'>
        <source>
            <address domain='0x0000' bus='0xce' slot='0x00' function='0x1'/>
        </source>
    </hostdev>
</devices>
You can find all GPU IDs on the server with lspci -nn | grep VGA, e.g., ce:00.0.
The 0xce in the XML corresponds to GPU ID ce:00.0.
Remote Virtualization Management
My virtualization and development environments are on two separate workstations, referred to as A (virtualization) and B (development).
Remote virtualization management means using virsh on B to clone, start, manage, and delete VMs on A.
The approach is straightforward: add B’s SSH public key to A’s root user (you can also add it to a regular user on A, but you need to configure libvirt on A to allow that user to manage VMs). Then add the following to ~/.bashrc:
# Replace m4.jinmiaoluo.com with your virtualization host's IP
export LIBVIRT_DEFAULT_URI="qemu+ssh://root@m4.jinmiaoluo.com/system"
In the demo video, m4 is the virtualization host (A) and m7 is the development environment (B):
Demo video:
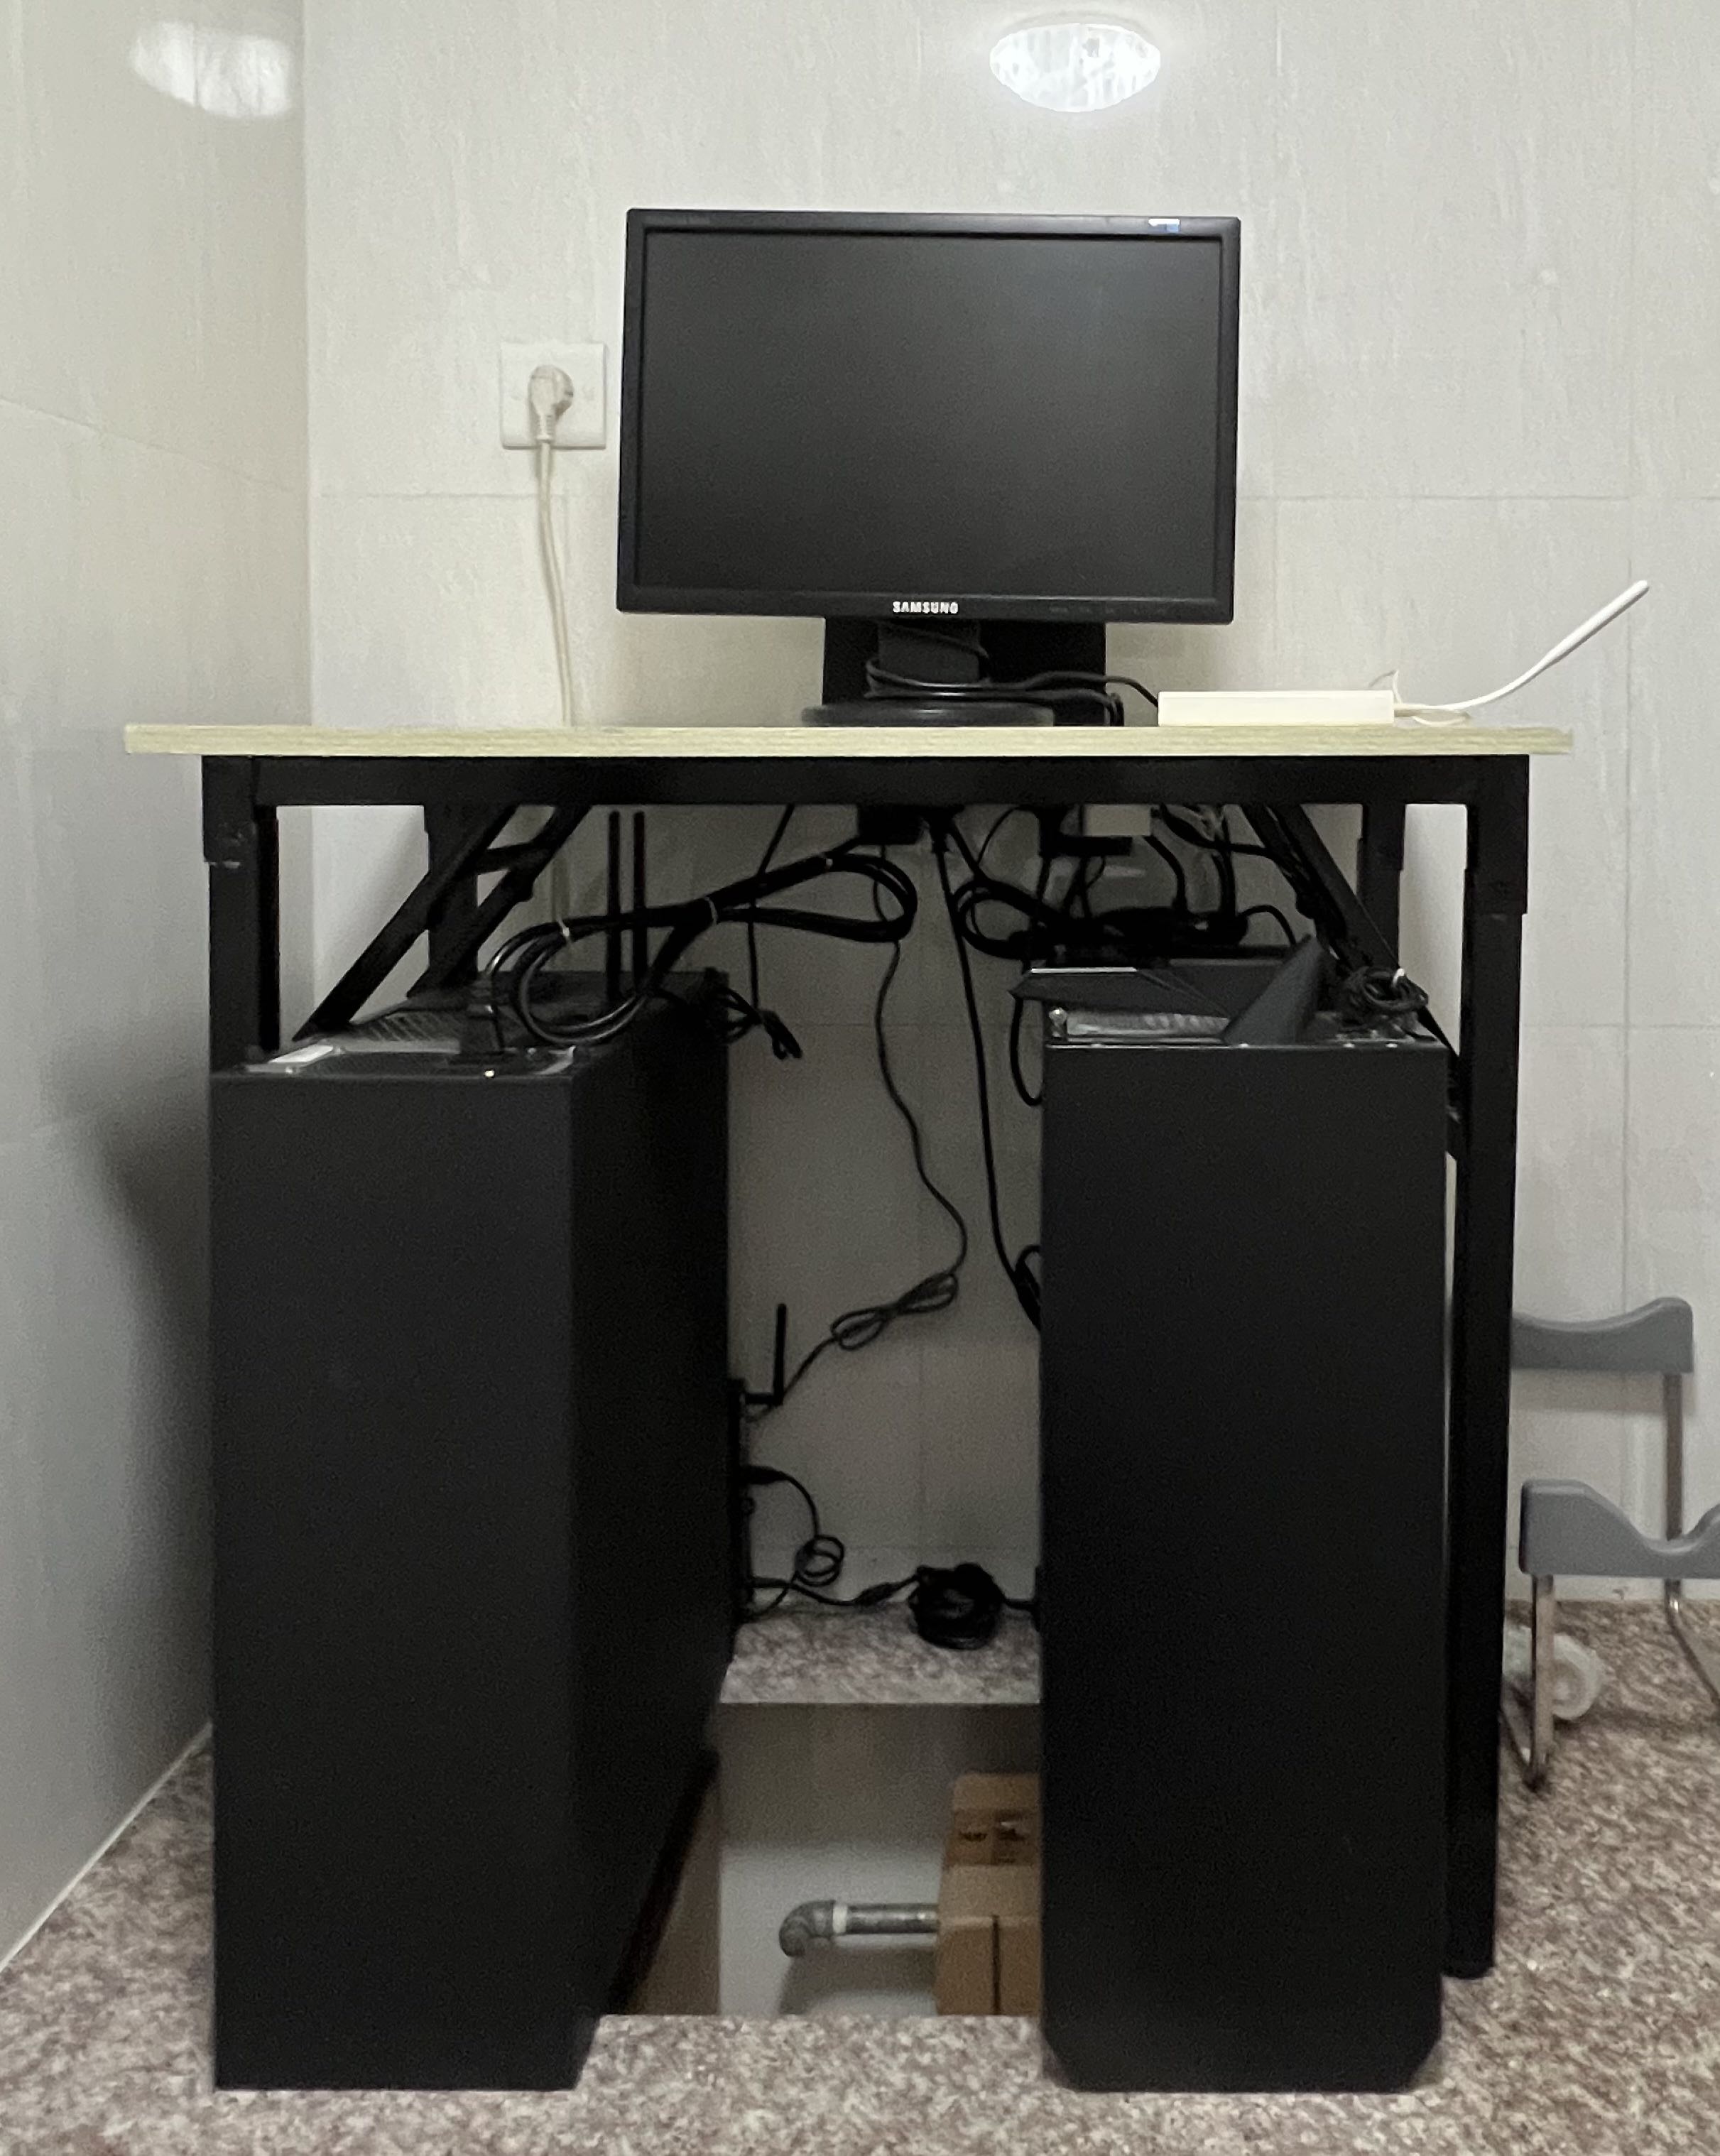
Finally, here is a photo of the setup: